
We have had some cold days and Valentine’s day is coming up. This is a fun activity to do with your kids and you can make some sweet Valentine’s gifts for each other and friends!
I loved making Shrinky Dink’s as a kid. However, since I surveyed some of my closest friends and family I’ve discovered I’m the only one that remembers using this stuff! I was of course a dork as a child who also made things like felt hand warmers and clay panda bear ash trays! I recently revisited the wonderful world of shrink plastic, and the possibilities with this stuff are endless. Besides jewelry charms, you could make dog tags, cup cake toppers, rings, sun catchers, you can even print and shrink real photographs! For endless inspiration just search “shrinky dinks” on Pinterest.
For this tutorial I’ll be sticking to types of shrink plastic and making charms.


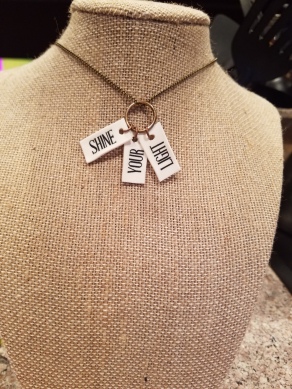
These are the three types of shrink plastic I have used. The “Grafix” brand on the far right makes a really neat hard shiny white plastic. However, it is slick and even permanent sharpie will smear when you write on it. I put it through my ink jet printer even though its not made for that. If someone doesn’t want me to put their product through my printer they shouldn’t make it 8.5 x 11″ haha! It did work, but I wasn’t able to keep ink from smearing. (As a warning, never put this stuff through a laser printer because the heat will melt it, luckily I’m at least that smart!) Although I’m sure there are some good applications for the Grafix brand, I’m going to recommend using the other Shrinky Dinks brand packs. The Ruff’n Ready is probably the most common to find, and is great for kids to color and draw on. This is good for doing your own designs as you can use crayons, colored pencils, sharpies or stamps. It makes a foggy glass look when baked. Here are a few examples I made using Ruff’n Ready.


The second pack I recommend is the Shrinky Dink’s brand for Ink Jet printers. You can find this and the Ruff’n Ready at your local Hobby Lobby, so use thier 40% off Coupon and get started right away! You may also want to pick up some jump rings while you’re there, and whatever cord or chain you want to use to make bracelets and necklaces. Using the pack for ink jet printers you are able to print any photo, graphic, text, etc, onto the film, cut it out and shrink. This is super cool and turns out very nice and neat looking. I have some cool ideas in mind for necklaces using song lyrics. Here are some examples of charms made with the ink jet Shrinky Dink’s pack.
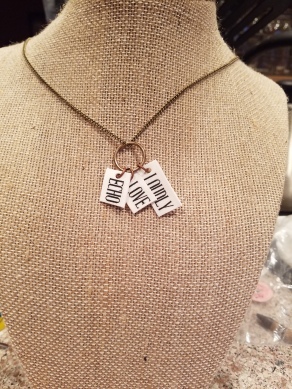
This type turns out more like a hard foam than plastic. While I prefer the look of the Ruff’n Ready, this is obviously the easiest way to go. You can just type up whatever you want in whatever font, add some clip art designs, print and wa-la!
You can bake both of these together so feel free to try them at the same time.
First you’ll want to draw and color your designs, or type and print. You will need a friend to help you with this step, everything is more fun with a buddy! 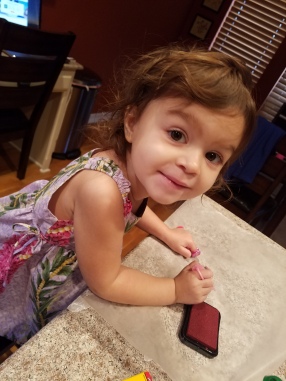
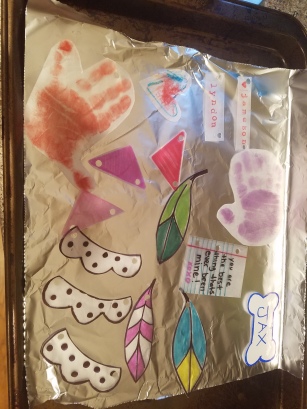
In the mean time, preheat your oven to 325 degrees. Once you have colored and cut out your designs, you will want to punch a hole to hang them from. A standard hole punch makes the perfect size once they shrink. For a fun detail we used a heart hand punch. Put your creations on a pan lined with foil or parchment paper like this:
Then put them in the oven. You and your shrinky dinky buddy might want to watch them shrink. It takes about 3 minutes and its pretty cool! You’ll know they are done when look like this! These shrink to about 1/3 of their original size.

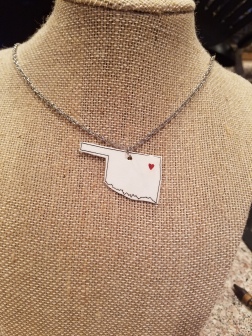
The edges may curl up a little but just flatten them back out with a spatula or your oven mitt. Once your charms cool you can start adding jump rings or just string through the hole you made. Embroidery thread and elastic cord are great for kids projects and we also added beads to some. Below are examples of some we have made…
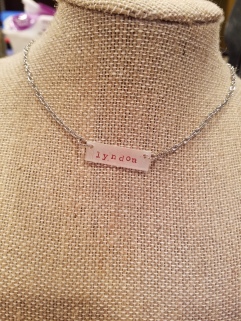
a name charm for a friend!
Geometric shapes!
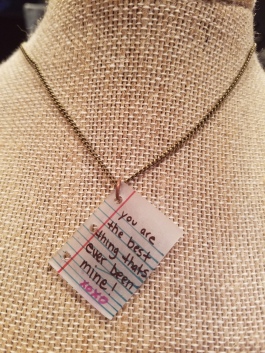
Using a ruler draw lines, then punch 3 holes and make a love note to your child or friend!
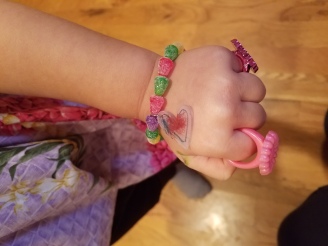
Add beads and a charm to elastic cord!
Cupid inspired, heart and arrow charms!
my 21 month old and almost 3 year old’s hands made the perfect size charms for a keychain! This could make a sweet valentine’s gift. We used a Stampabilities Ink Pad from Hobby Lobby to create these.
Have fun creating cute charms and most importantly great memories! Let us know if you end up making something, we’d love to see your creations!
